Pre-Drywall Inspection Checklist: What to Check and Record Before the Walls Close
· 3 min read · Estate Motion
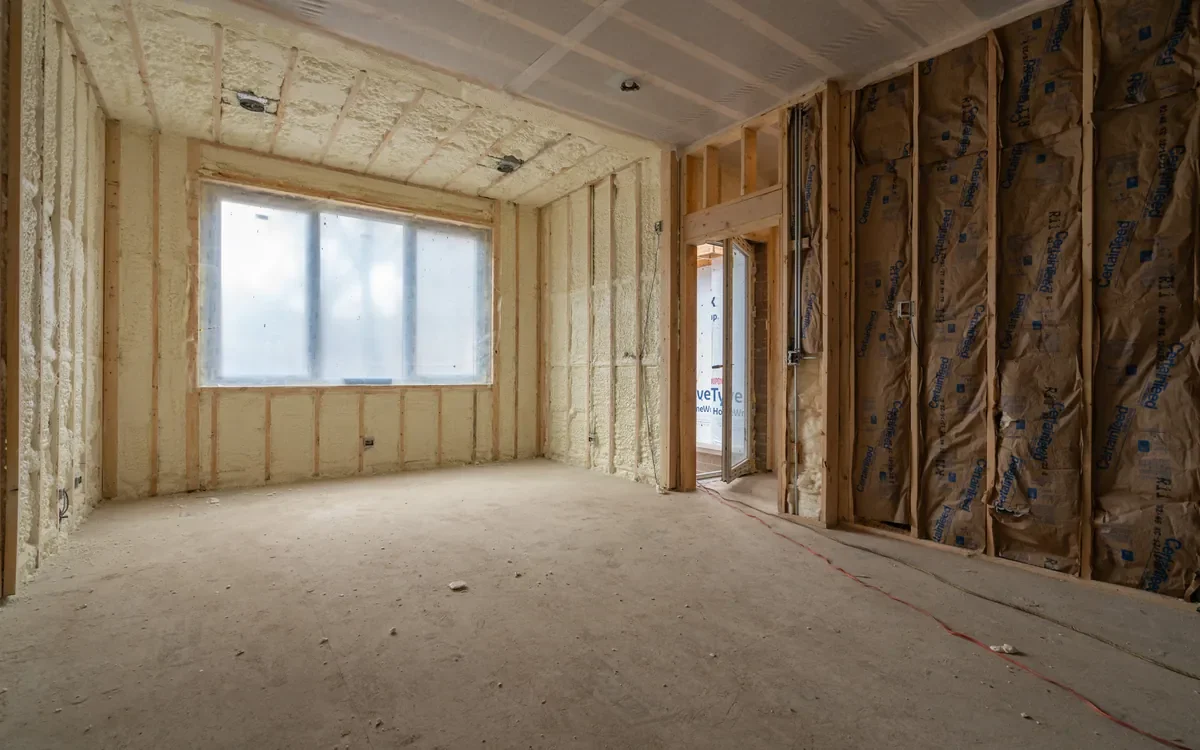
A pre-drywall inspection is the last time anyone will see what's inside your walls. After that, the pipes, wires and framing are gone behind half an inch of gypsum. I photograph and scan new homes at this stage around Chicago, and here's what I tell buyers and builders.
What it is
The inspection happens once the framing, rough plumbing, electrical and HVAC are in, but before insulation. It isn't the same as the village's rough-in inspection, which the builder has to pass anyway. This one is for you: an independent inspector checks the work while fixes are still cheap.
Many builders also hold a pre-drywall meeting at the same stage. The site manager walks you through, confirms outlet locations and options, and answers questions. Bring your inspector's notes. Bring a camera too.
Angi puts the average cost at about $300, with most people paying $200 to $400. That's cheap compared to opening a finished wall.
The checklist
Framing. Look for straight walls, headers over every window and door, and no joists cut more than they should be. Check for blocking wherever something heavy will hang: TVs, cabinets, floating shelves, grab bars. Missing blocking is the thing buyers most often wish they'd caught.
Windows and doors. Do they match what you picked? Is the flashing done? Any damaged frames?
Plumbing. Make sure the lines are where your fixtures will be: vanity, shower, island, fridge water line. Shower valves should sit at the height you expect. Pipes going through studs should have protection plates.
Electrical. Walk every room with your plan. Outlets, switches, lights, island outlets, exterior outlets. Check box heights, especially above vanities and where a TV will go. Confirm low-voltage runs for internet, speakers, cameras and the doorbell.
HVAC. Ducts should be connected and supported, with no crushed runs. Every room needs its vents and returns. Bath and kitchen fans have to vent outside, not into the attic.
Write everything down and ask when it'll be fixed. Then ask for a quick re-check before the insulation goes in.
Why record every wall
The checklist helps you today. The record helps you for as long as you own the house.
Two years from now you'll want to mount a TV, and nobody will remember where the cable or the pipe runs. A contractor planning a remodel will want to know the same thing. If a leak shows up under warranty, dated photos of how the plumbing was installed settle the argument fast. And when you sell the house, a full pre-drywall record is a nice extra for the next buyer.
Phone photos help, but they get messy. You end up with 300 pictures of studs and no idea which wall is which. That's why we do a full photo set plus a 3D scan right before drywall. With the scan you can walk through the framed house years later, turn to any wall, and measure from the corner to a pipe.
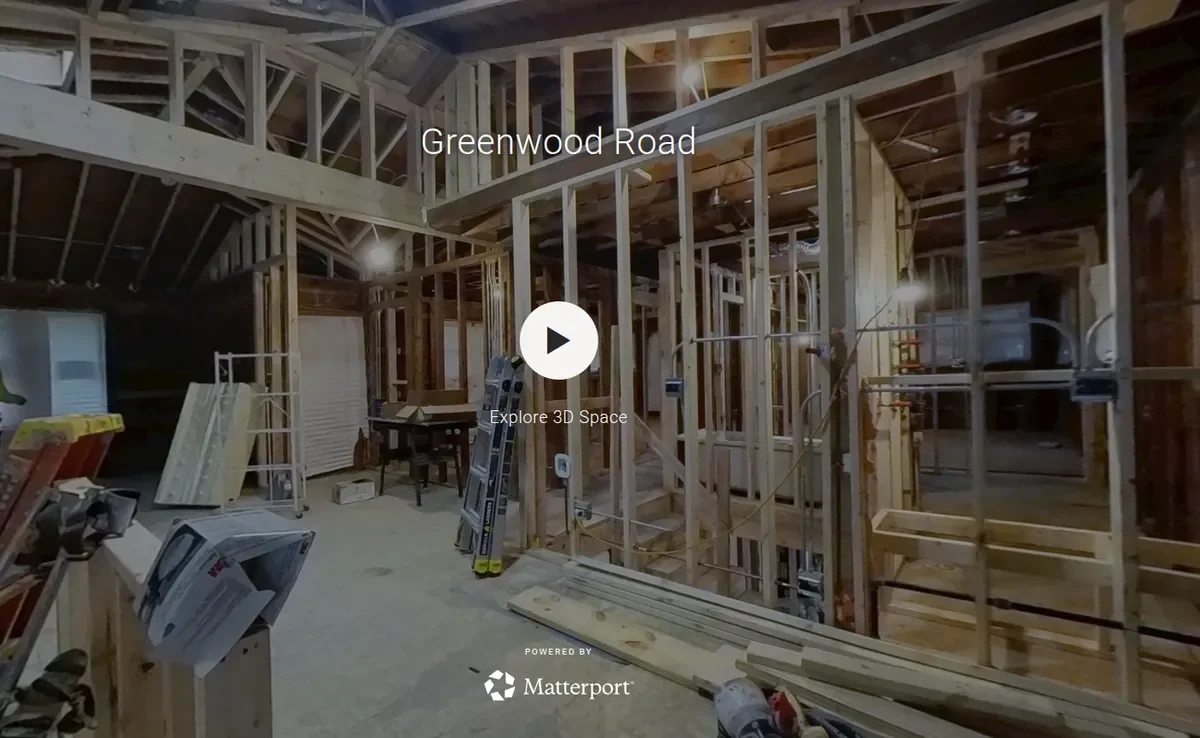
Here's a pre-drywall 3D tour we scanned in Glenview. The same scan can also become a floor plan of the framed house.
If you're photographing it yourself
Stand in each corner of every room and shoot the opposite wall, so you get four photos per room. Then get close-ups of the plumbing walls, the electrical panel, low-voltage runs and any blocking. Put a tape measure in a few shots to show heights. Shoot the ceilings where there are recessed lights, fans or ducts. Save it all in a folder named with the address and date, and back it up somewhere other than your phone.
For builders
More builders around Chicagoland are scanning homes at this stage. It's an easy way to send buyers a progress update without another site visit. It also gives you a clean record for warranty questions, proof of progress for lenders at each draw, and good material to show the quality of your framing and mechanicals.
Quick answers
How long does it take? A couple of hours for most houses. A scan and photo set takes about the same.
Is it necessary? It's not required. But it's the only time an independent inspector can see inside the walls, and most problems found now take minutes to fix.
What happens next? The builder fixes the list, insulation goes in, then drywall.
Can I do the walk-through myself? Yes. Use the list above and ask the site manager to walk with you. An inspector will still catch things most buyers miss.
We photograph and 3D-scan homes at the pre-drywall stage for buyers and builders across Chicago and the North, Northwest and West suburbs. Here's how our construction progress photography works, and you can add a 3D tour to the same visit.